
 by
by For an IT-guy like me who feels IT-security is an important thing, both at work and at home it is really welcome that Sophos is offering XG Firewall free of charge for home use.
You can sign up for Sophos Home, a free anti-virus solution where you can manage up to three computers from a central management console.
Besides Sophos Home, for a long time Sophos also provides their firewall solution completely free of charge for use in home environments. Both the Sophos UTM and Sophos XG Firewall products are available for free.
Sophos UTM is a firewall that has been around for many years now. It has evolved from the Astaro firewall which Sophos has acquired back in 2011.
Sophos’ latest firewall product is called XG Firewall; a completely rewritten firewall really aiming at the future. This blogpost describes how to get and install Sophos XG Firewall Home Edition.
From the Sophos website:
“Our Free Home Use XG Firewall is a fully equipped software version of the Sophos XG firewall, available at no cost for home users – no strings attached. Features full protection for your home network, including anti-malware, web security and URL filtering, application control, IPS, traffic shaping, VPN, reporting and monitoring, and much more.”
This blogpost contains several steps. Use the following links to jump directly to any step or continue reading for a step-by-step instruction.
1: Get the software
2: Install the software
3: registering and activating the firewall
4: Installation finished
Step 1: Get the software
Go to the Sophos website and click on Get Started.
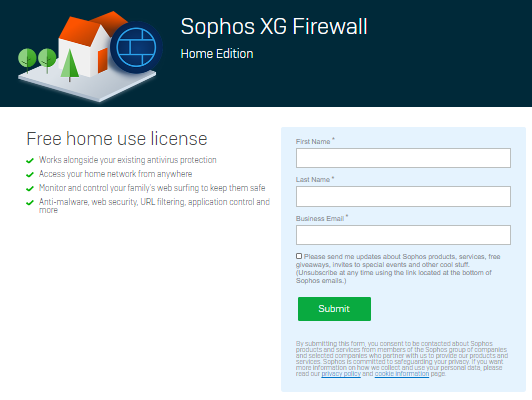
Here you need to register for your free serial number that you need later during installation. You will receive the serial number by email. After filling in the details and submitting them, you’ll see the following page that confirms successful registration.
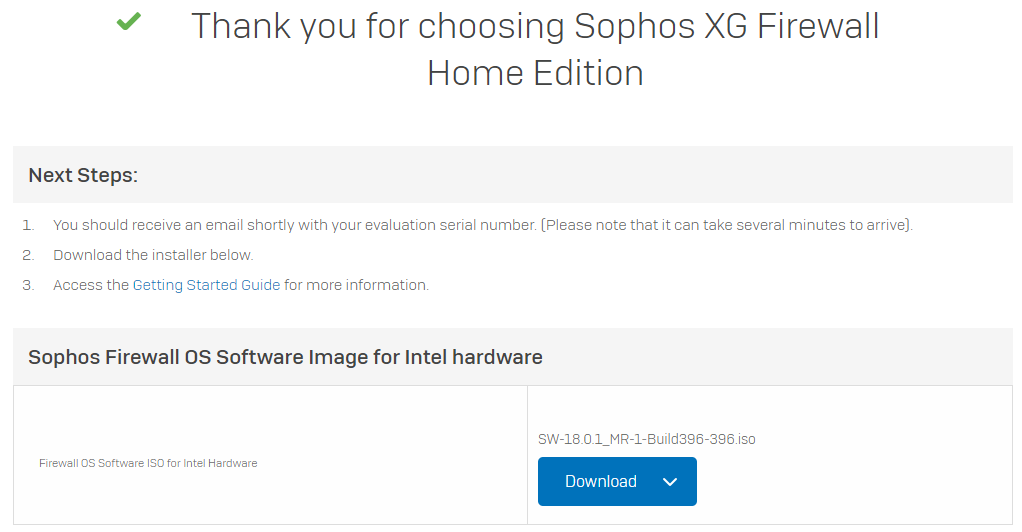
From here you can immediately download the ISO file that you need to install the software. When installing on a real physical computer, you need to either burn the ISO to a rewriteable CD/DVD or to a USB memory stick using the Rufus tool. When using Rufus remember to write in DD image mode, not ISO image mode.
Step 2a: Install the software
Before installing the firewall beware that the installation will completely erase disk in the machine.
After starting the installer you get one warning that the disk will be erased and the opportunity to stop the installation.
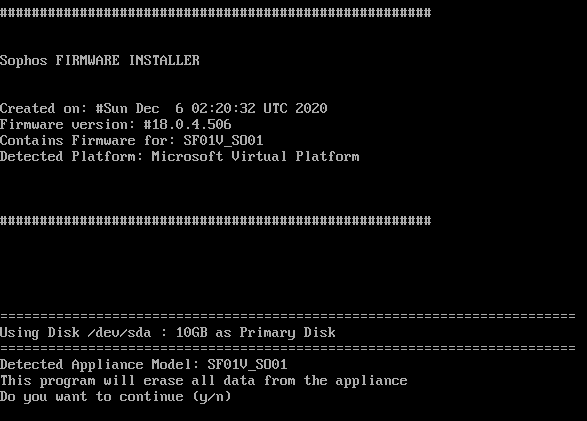
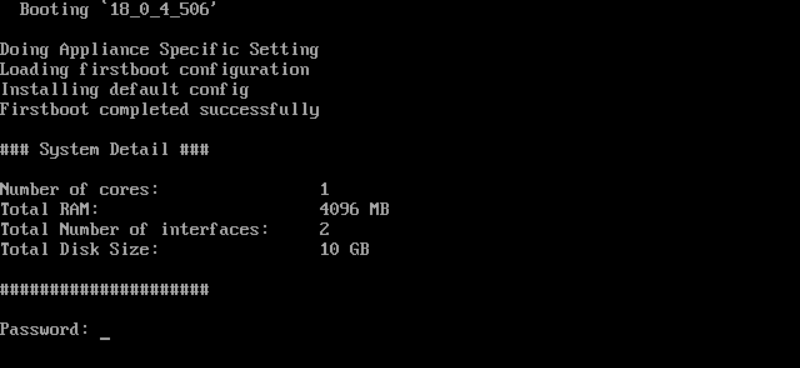
Press ‘y’ to continue. The installation will start and after a short wait it will tell you that the installation has finished. Remove the installer disk and press ‘y’ again to reboot the machine. After restarting the system greets you with a password prompt.
Step 2b Basic configuration
Enter the default password: admin en press enter, next the End User License Agreement will show.
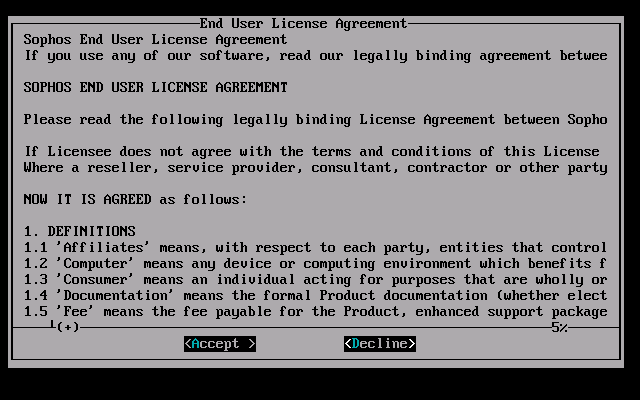
If you agree with the EULA, then press A, and the main menu will show:
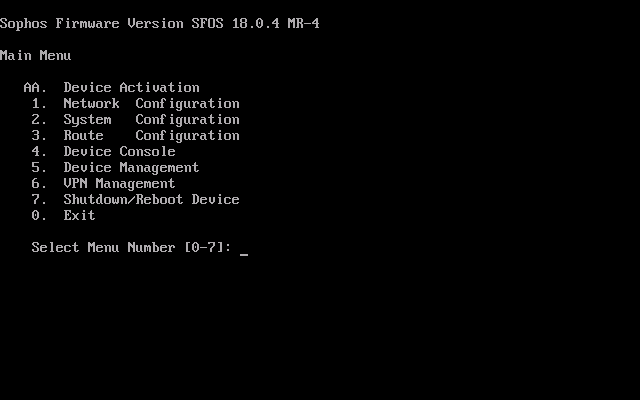
The firewall is now ready to be setup from a web browser. It may however be convenient to first configure the IP-address of the LAN interface. The default IP-address is 172.16.16.16 which may not be reachable from the computer you use to configure the firewall. To change the IP-address press 1 in the Main Menu for Network Configuration, then 1 for Interface Configuration. The system will show the currently configured and/or assigned IP-addresses for the LAN and WAN interface. First it will show the LAN interface (172.16.16.16/255.255.255.0), then after continuing it will show details of the WAN interface.
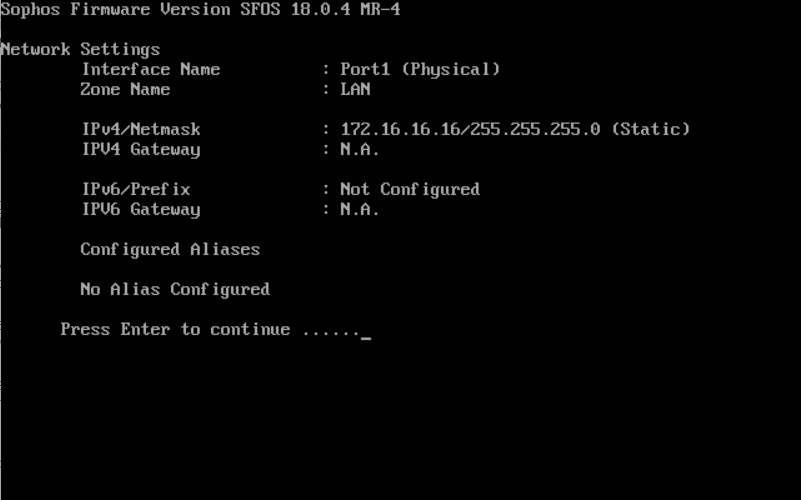
After showing both interfaces the system asks if you want to set the IPv4 Address. Choose ‘y’ and Enter to do so and fill in the correct values for your own network:
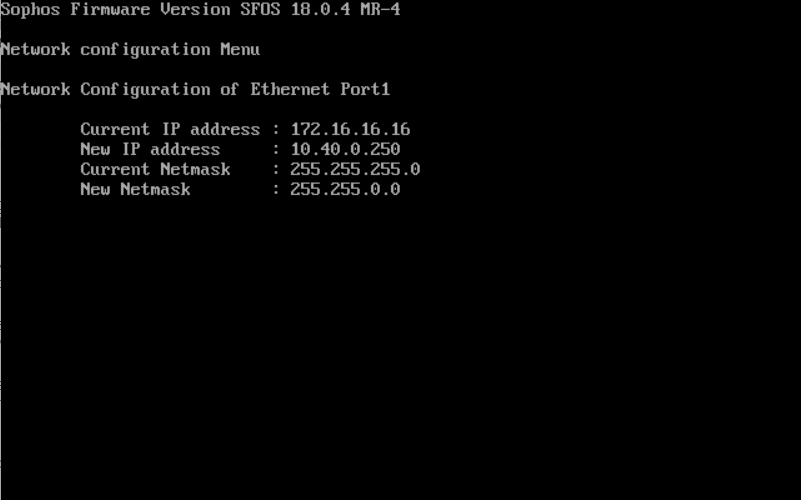
After entering the correct values for use in your own network it will show the configuration is Done. The WAN-port cannot be set from here at this time. After confirming the system will ask if you want to also set the IPv6 Address. If necessary then do so, otherwise just hit Enter for no.
The Network configuration menu will show again. Press 0 to exit to the main menu and 0 again to exit from the menu and log out.
Step 3a: registering and activating the firewall
After setting up and preparing the IP-address of the firewall it’s time to start a browser on your management computer and browse to: https://<ipaddress>:4444 where <ipaddress> of course is the IP-address you have given the firewall’s LAN port.
You will see a certificate warning when you open the page. This is because of a self-signed certificate on the firewall.
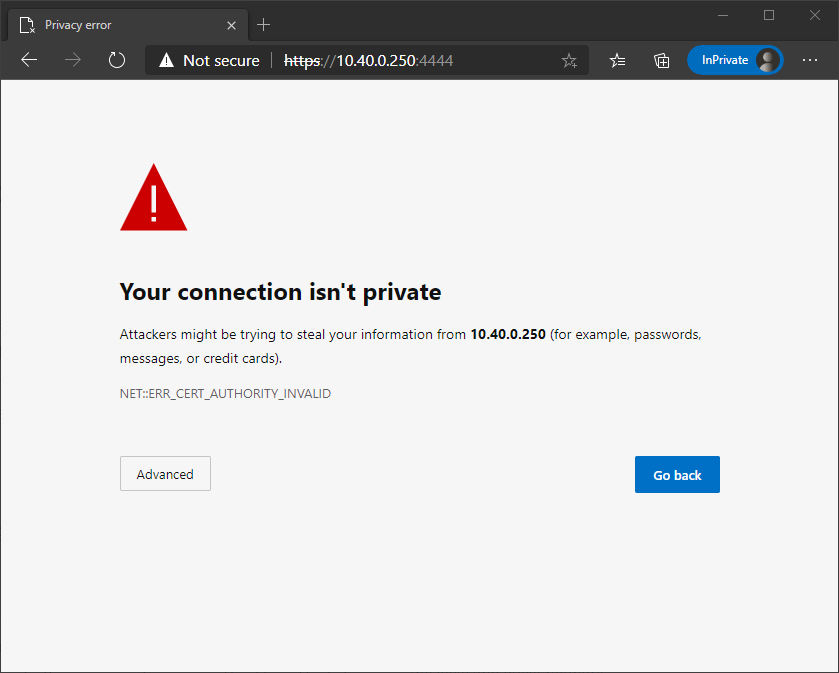
It is safe to skip this specific warning, so by clicking on Advanced, you can continue loading the website (different web browsers may show the warning somewhat different).
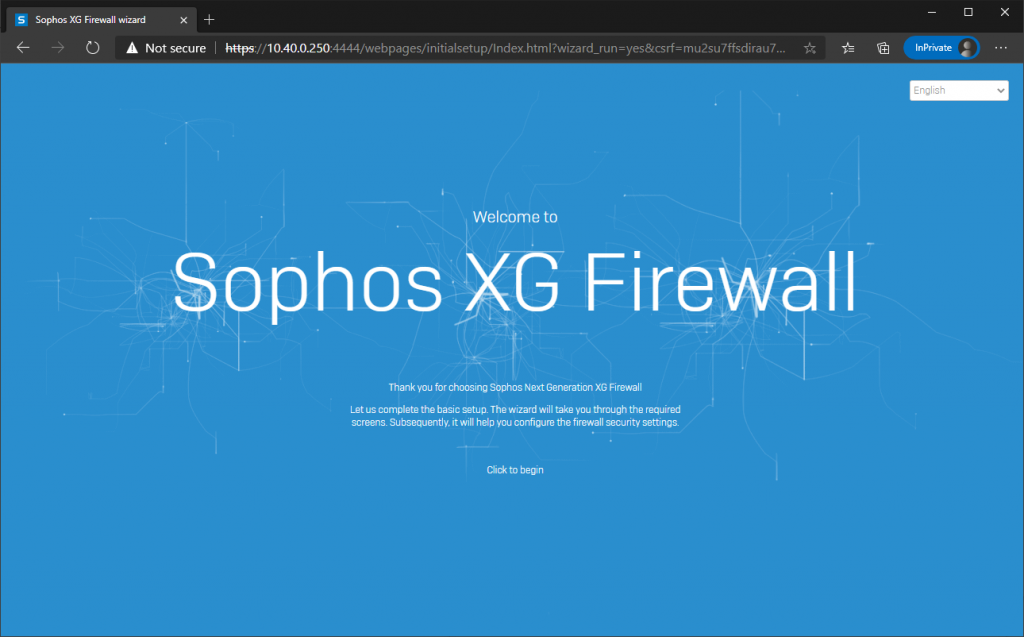
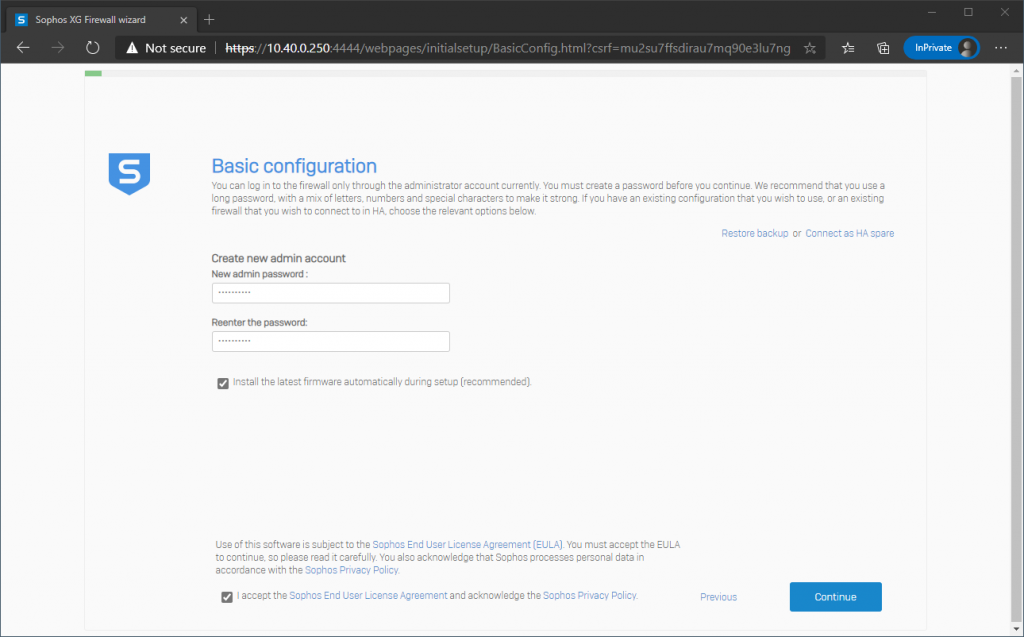
After clicking on ‘Click to begin’ you first need to change the default admin password. Also if the WAN-port is already connected correctly (DHCP-address from modem or router) then you can leave the checkbox to install the latest firmware automatically during setup enabled. Also you need to once more accept the EULA and acknowledge Sophos’ Privacy Policy to continue.
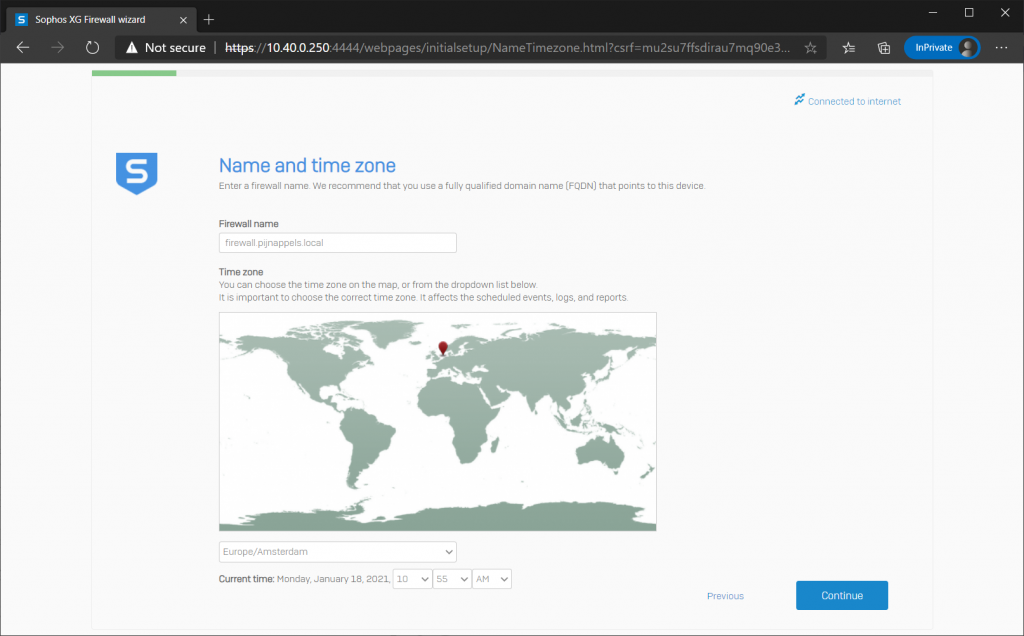
After continuing, you’ll need to setup the firewall’s name and time zone.
Next step is to register the firewall (you can skip this step for the first thirty days, but after this time you must register to keep the firewall up-and-running. You will have received the serial number by email after step 1 of this instruction.
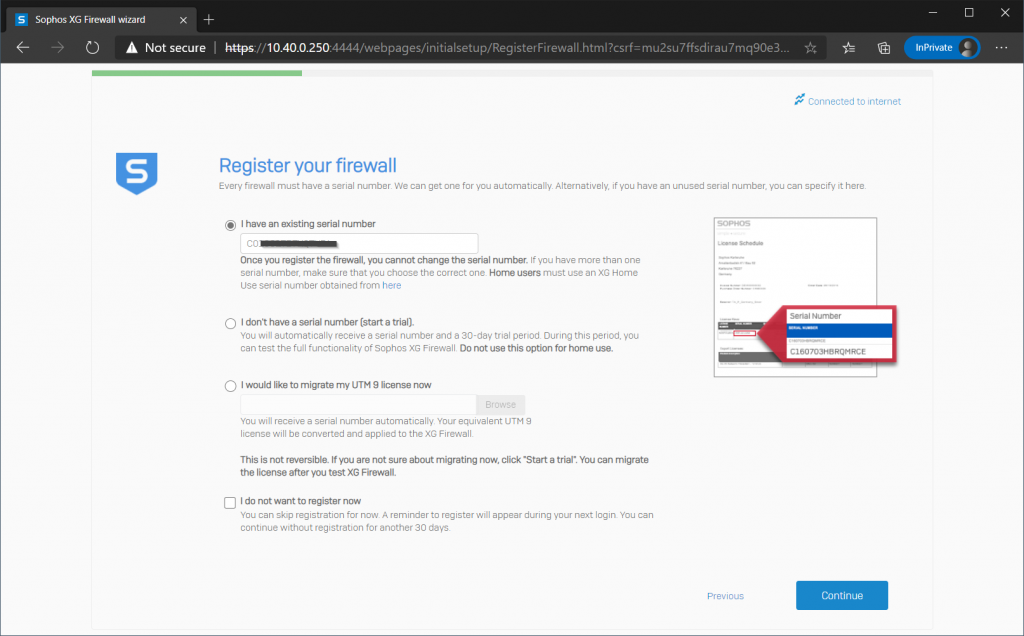
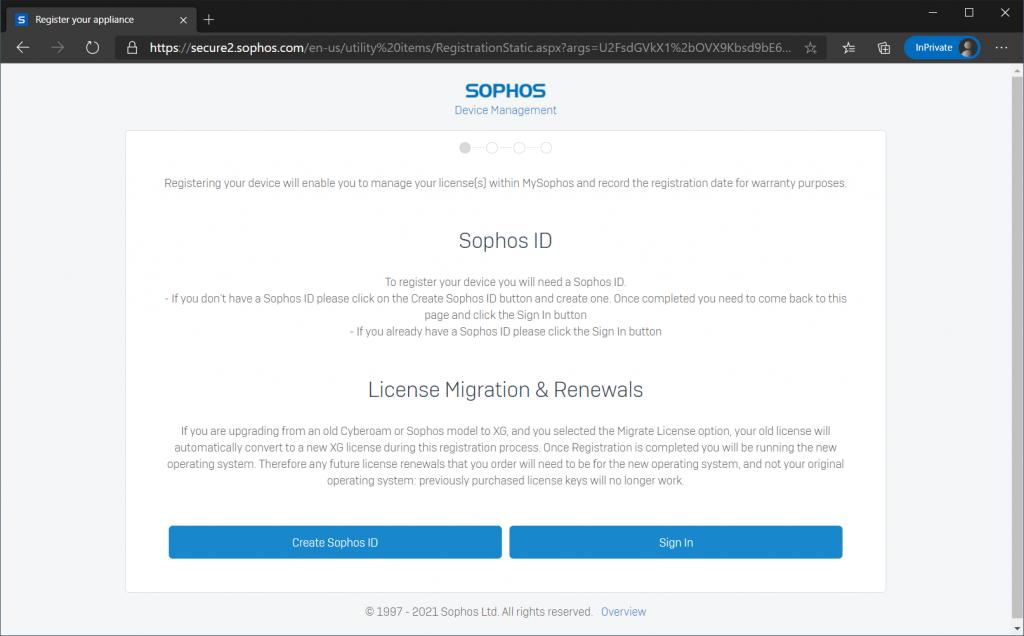
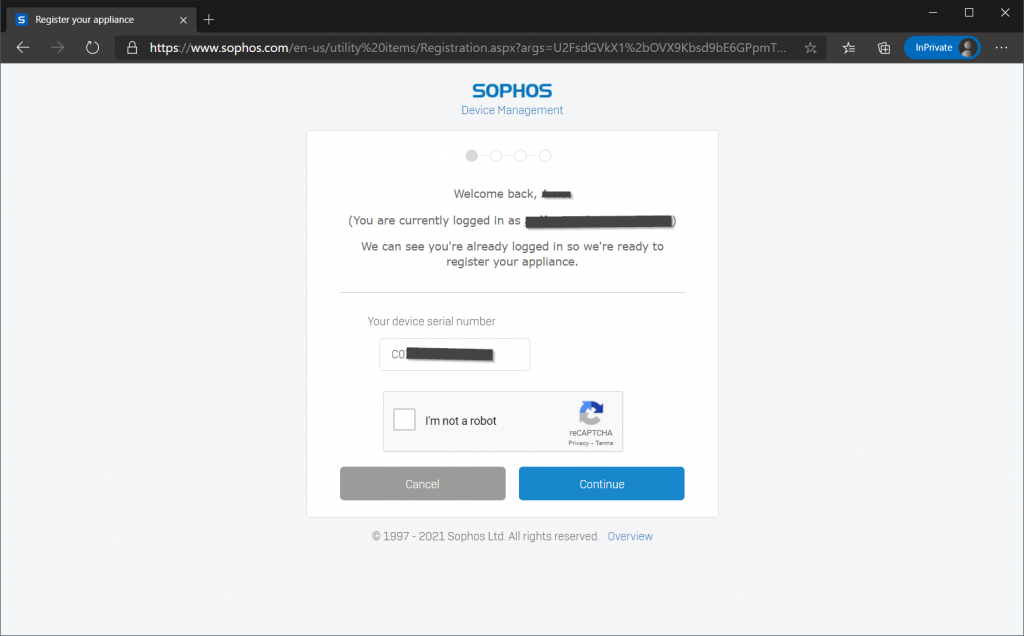
After entering the serial number your firewall should be registered. For this you need to create a Sophos ID or log in to it if you already have one. From your Sophos ID you will always have access to your serial number and downloads at a later time.
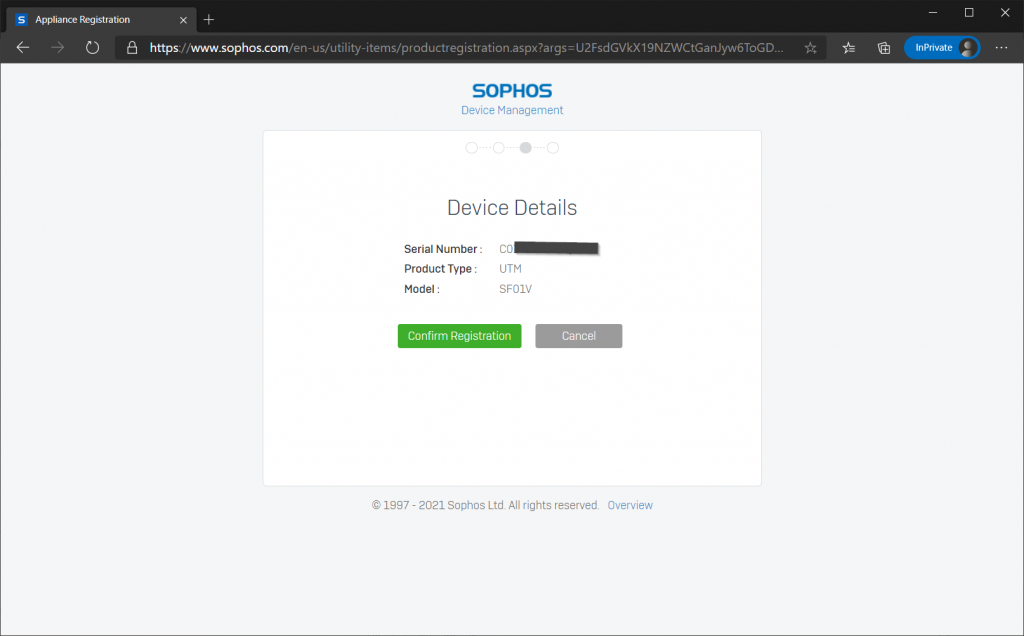
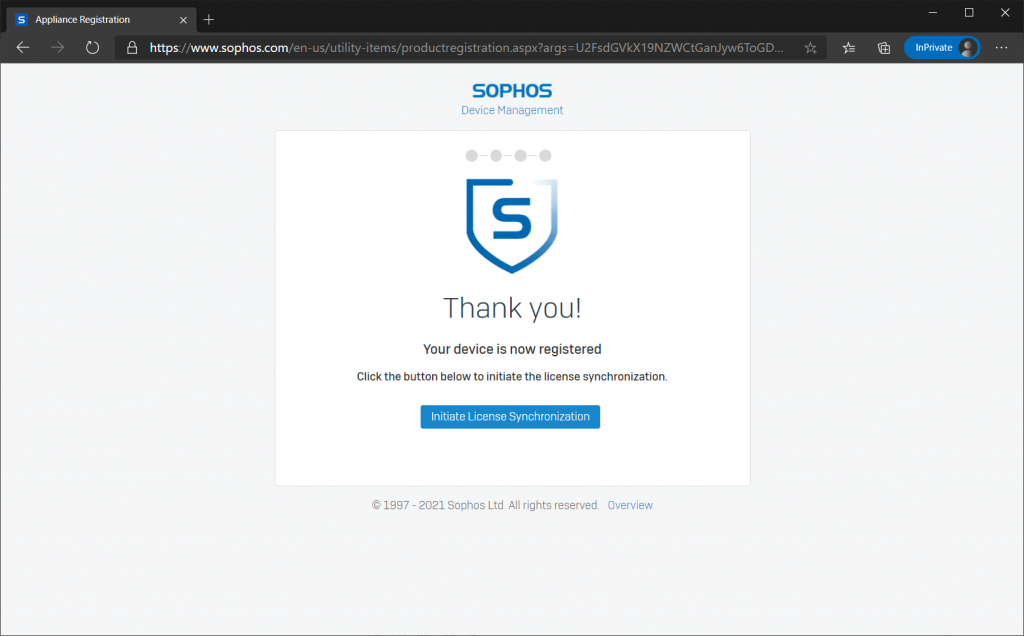
After registering the license can immediately be synchronized with your firewall
3b. finishing basic configuration
After continuing the next step is to configure the LAN settings. Your IP-address is most likely already configured correctly, but you can also enable a DHCP server on the LAN if you need it or just disable it if you don’t.
Then the setup will ask you if and which network protection features you would like to need.
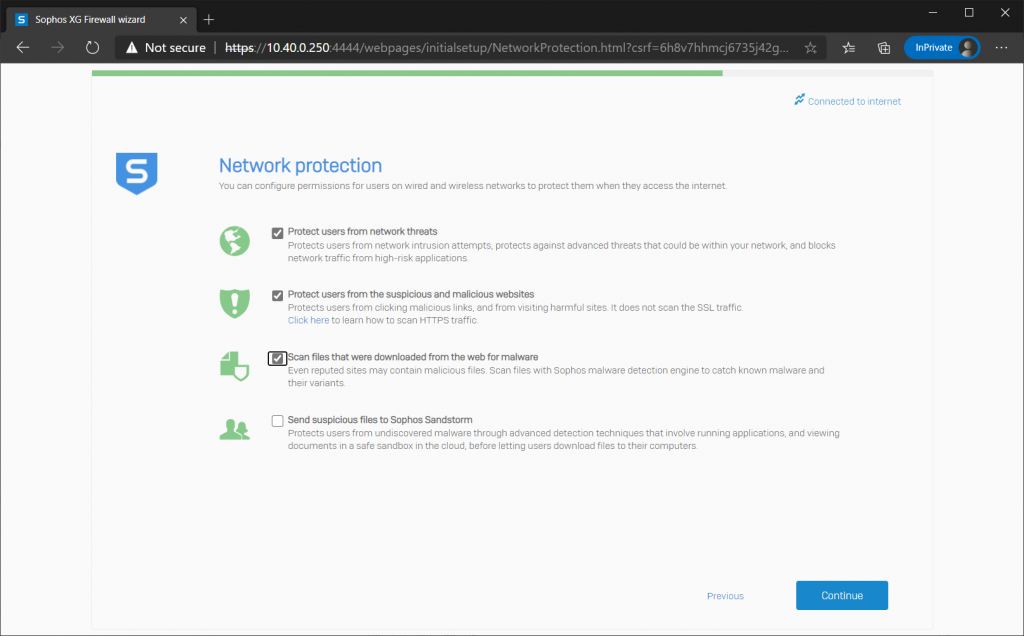
The first three options are valid for Home Use, the last one about Sandstorm will not work for the Home use version.
The explanation under each of the features should be enough explanation.
Next step is to configure whether or not you would like to receive weekly backups by email automatically.
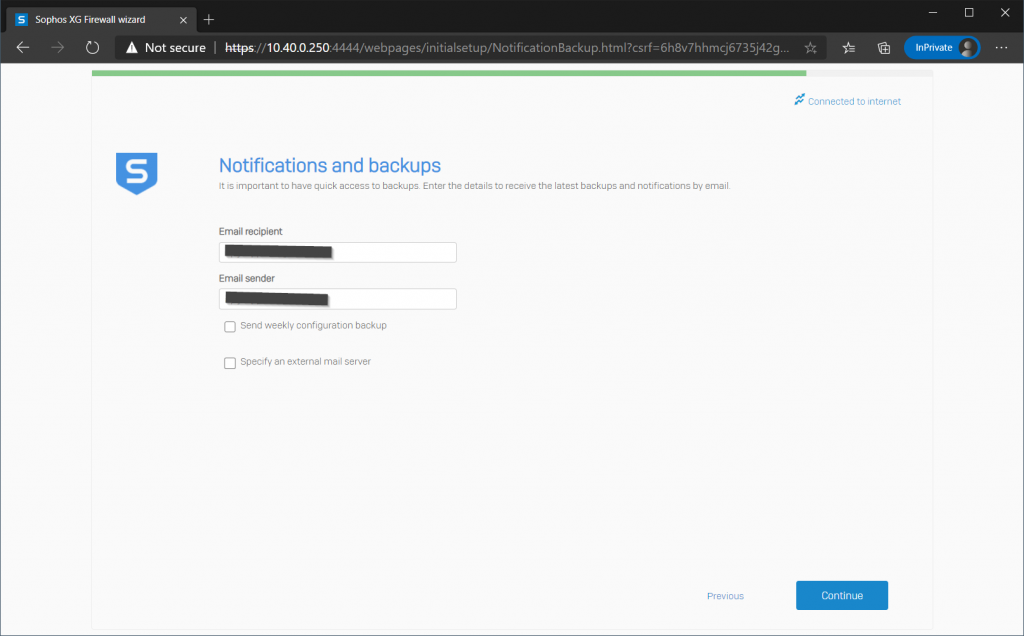
If you do want to receive the weekly backups, you also need to enter a password that is used to protect the configuration backup files. Do not loose this password, otherwise you will not be able to restore the backup at a later moment.
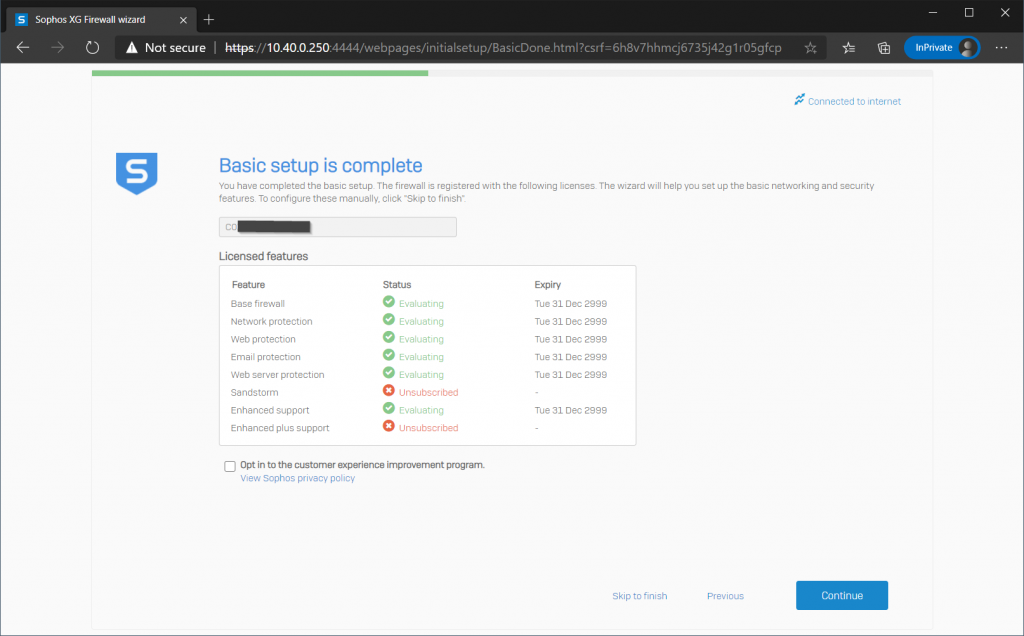
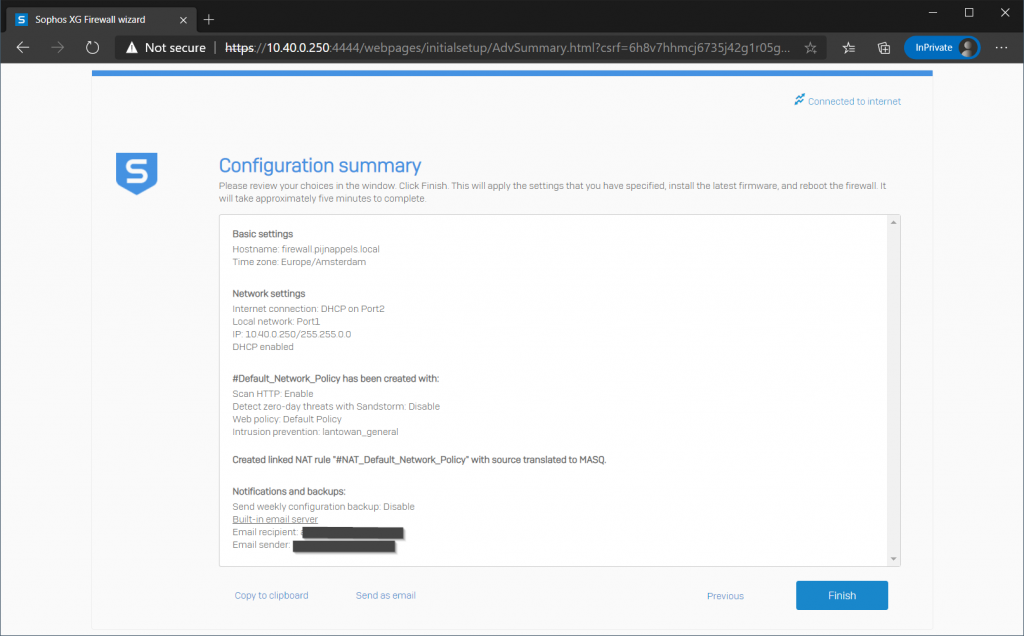
Next the system will show you a summary of all the selected options during the install, and after clicking on Finish the system will apply all the settings and restart automatically after it finishes.
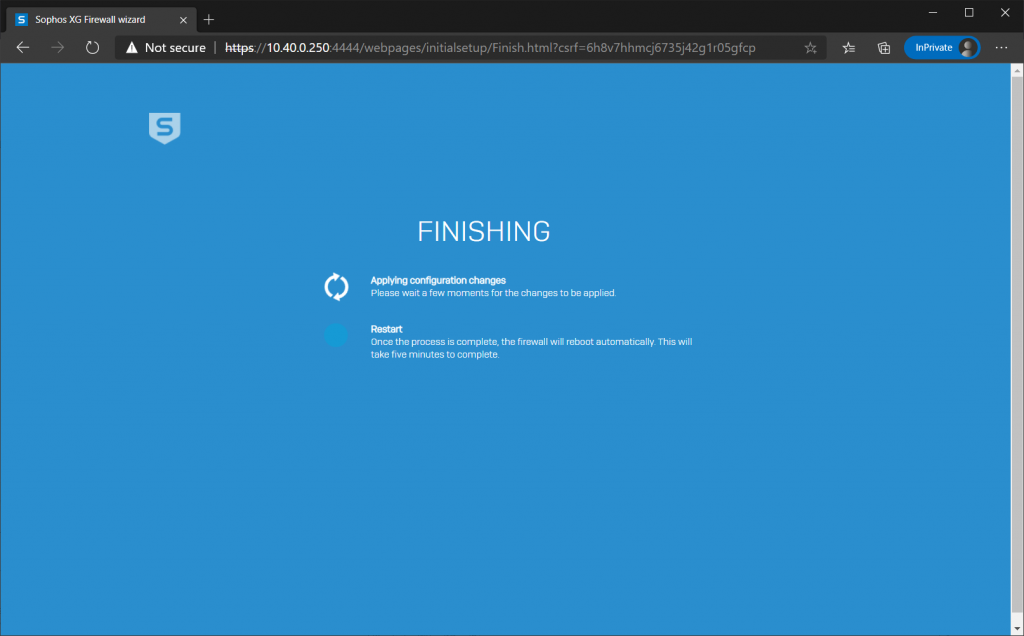
You can now just wait, the page will refresh once the firewall has restarted and it will show you the login screen.
3c. First login

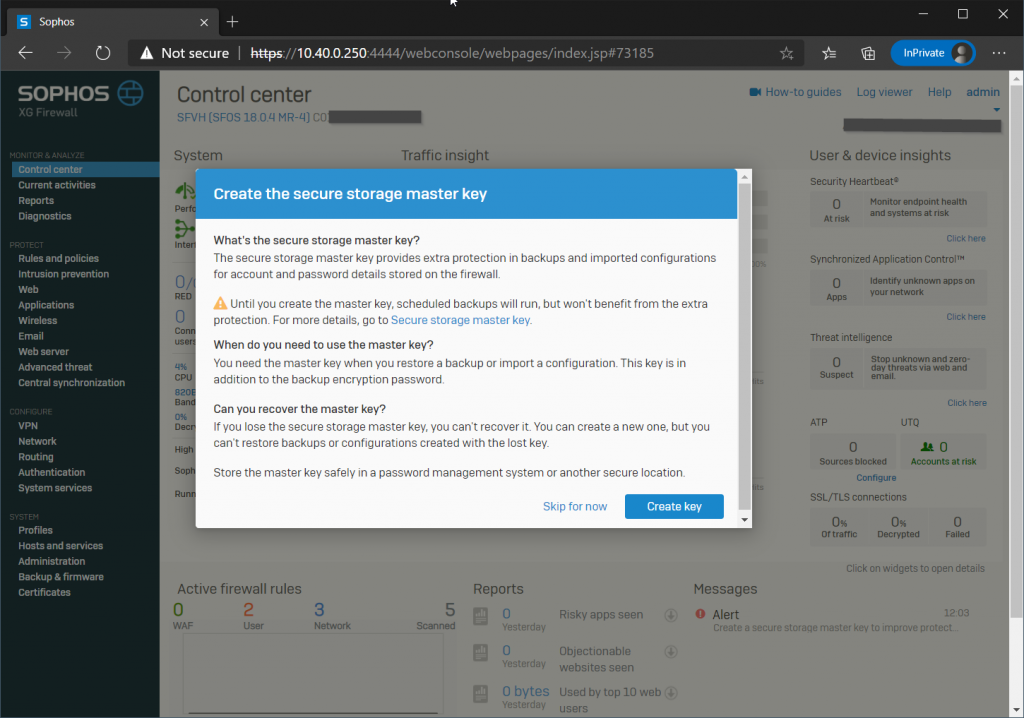
After logging in for the first time the system will ask you to create a secure storage master key. You can skip this step, but it will come back each time you login, so it’s best to create one and make sure to safe it somewhere secure. You will need this key once you need to restore a backup or when you need to import a configuration.
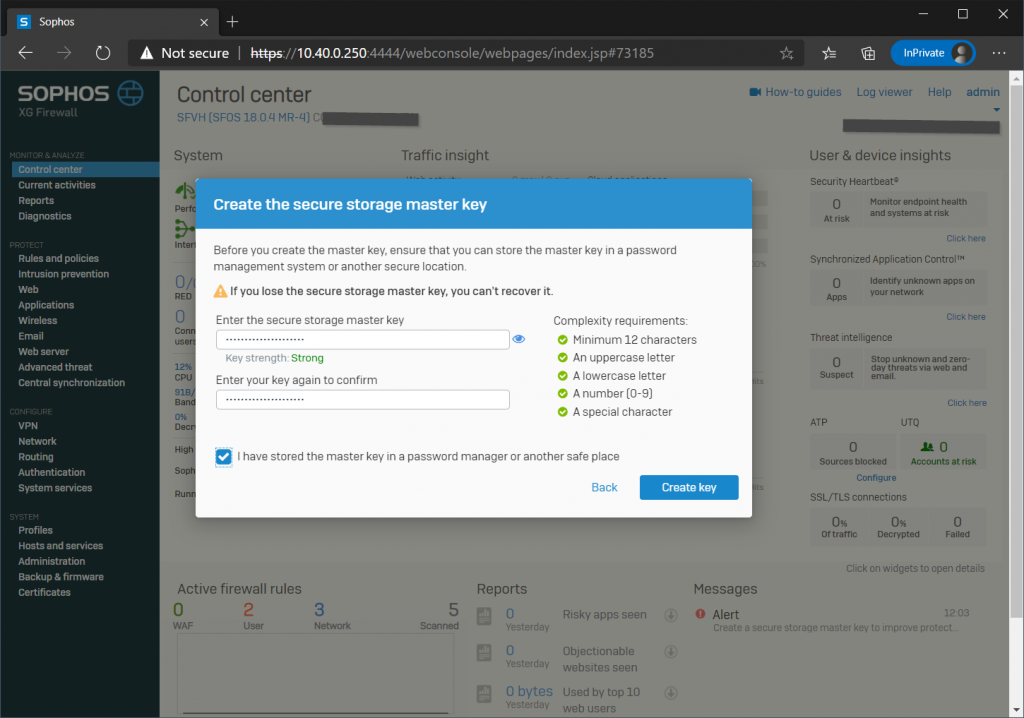
The system will ask you to confirm that you stored the key in a safe place so you can recover should you need it again (possibly not until after a few years).
Step 4: Installation finished
The basic installation is now ready. If you enabled a DHCP server then you can connect new computers to the LAN-side of the firewall and they will automatically receive a local IP-address and have their default gateway set correctly. In fact these machines should immediately have access to the internet protected by your newly setup XG firewall.
Now your basic setup is complete, you may also want to read my article: Configure XG-firewall for Home use.
This article lists a few additional steps I recommend in a home-network.
Furthermore I highly recommend you to register an account in the Sophos Community. That’s the place where you can find a lot of information and highly skilled people that can quickly help you in case you run into problems or if you have some questions on how to configure certain settings in your situation.
If you like this post about Sophos XG, you may also like my other posts about Sophos.
Hello,
good blog post. Is it possible to insert the key after installation? I haven´t seen the field during the installation.
Best regards, estorado
Hi, yes it is possible to do it afterwards. Not sure tough how it is done exactly, it has been a while.
You can always use the product “unlicensed” for 30 days and license it during this time.
Can you do a serial/console install
Not sure if you can do it with a serial/console cable, but if you install on a spare PC with a VGA and USB connection you can plugin a monitor and a keyboard and use that.
Is it possible to run the Home XG version on an old Sophos SG230?
Hi Antoine, yes that is possible but you should first completely erase all partitions on the existing disk otherwise the installer will continuously think it is an appliance which will not work for the home version.
I only have 1 Network Interface in my spare laptop. I was trying to use a usb ethernet port as the second but it doesn’t seem to work. I keep getting an error that I do not have the required number of Network Interfaces. Is there any way that I can use the USB ethernet adaptor?
I don’t think currently any USB NICs are supported. Probably the cheapest option is to buy an additional NIC to built into the computer or by converting the machine to a Hyper-V or VMware machine and install XG virtualized.
Thanks for the blog. Will read on…